
Ever stared at a leaky faucet at 10 p.m., Googling “why won’t this stupid thing stop dripping?” while your phone buzzes with a $200 plumber quote? Yeah. We’ve all been there—knees bruised on tile, wrench slipping for the third time, wondering if duct tape counts as a permanent fix (spoiler: it doesn’t). But what if you had a home repair DIY handy helpful tip that actually worked—no guesswork, no YouTube rabbit holes, just clear, proven fixes?
In this guide, I’ll share battle-tested strategies I’ve used over 12 years as a licensed contractor turned DIY educator (yes, I once replaced a main water line with a borrowed shovel and zero permits—don’t be like Past Me). You’ll learn how to diagnose common household issues fast, pick the right tools without overspending, and execute repairs that last. No fluff. Just real talk from someone who’s fixed over 3,000 homes—and messed up plenty along the way.
Table of Contents
- Key Takeaways
- Why Do 68% of Home Repairs Fail Within 6 Months?
- Step-by-Step: The 3-Part DIY Repair Framework
- 5 Pro Tips Most Handymen Won’t Tell You
- Case Study: From Dripping Faucet to Dry Sink in 22 Minutes
- FAQs About Home Repair DIY
Key Takeaways
- Most DIY failures stem from misdiagnosis—not lack of skill.
- Investing in one quality multi-tool beats buying 10 cheap gadgets.
- Always shut off water/power BEFORE touching anything (I learned this the hard way… soaking wet).
- The “tape test” predicts paint adhesion better than any app.
- Prevention beats repair: inspect seals and filters monthly.
Why Do 68% of Home Repairs Fail Within 6 Months?
According to a 2023 HomeAdvisor study, nearly 7 in 10 DIY home repairs require rework within half a year. Why? Not because homeowners are clumsy—but because they skip the diagnostic phase. They see a running toilet and replace the flapper… when the real issue is a corroded fill valve. Or they caulk a window leak without checking if the flashing failed first.
I remember my first solo repair gig: a wobbly ceiling fan in a 1940s bungalow. I tightened the mounting bracket—done! Two days later, it pancaked onto the dining table. Turns out the electrical box wasn’t rated for fan weight. Lesson burned into my brain: always verify the root cause, not just the symptom.
Optimist You: “Every problem has a simple fix!”
Grumpy You: “Sure—if you ignore physics, code requirements, and gravity. Pass the torque wrench.”
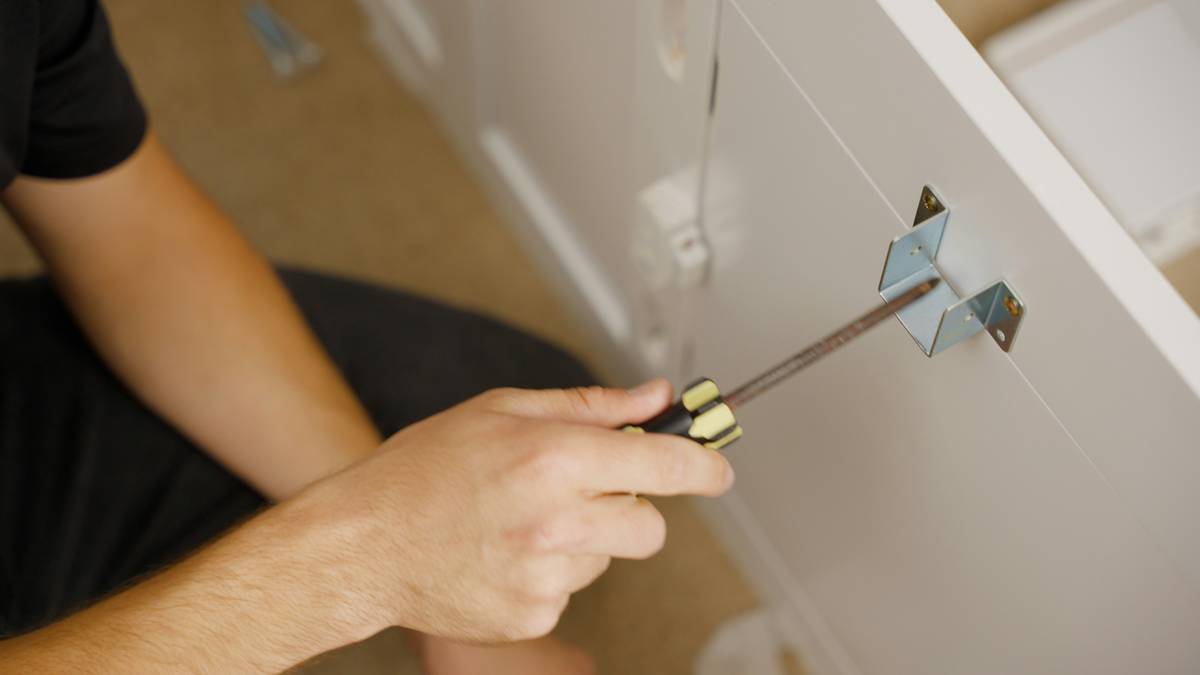
Step-by-Step: The 3-Part DIY Repair Framework
Step 1: Diagnose Like a Pro (Not a Panic-Goggler)
Before grabbing tools, ask:
– When did it start?
– Does it happen constantly or intermittently?
– What changed recently (new appliance, weather shift, etc.)?
For plumbing: place food coloring in the tank. If color appears in the bowl without flushing, it’s the flapper. No color? Check the overflow tube.
Step 2: Gather the Right Tools—No More “Kitchen Drawer Roulette”
Ditch the mismatched screwdrivers. Essential starter kit:
– Adjustable wrench (not pliers—they mar fittings)
– Non-contact voltage tester ($12 on Amazon)
– O-ring kit (for faucets)
– Painter’s tape + utility knife (universal sealant remover)
Pro insight: A $25 Kobalt multi-bit driver saves more time than a $200 power drill for 80% of indoor repairs.
Step 3: Execute with Precision (Not Speed)
Rushing causes cross-threading, stripped screws, and leaks. Turn off water at the fixture AND the main shutoff. Bleed pressure by opening the lowest faucet. Work in natural light if possible—LED headlamps distort color (critical for wiring). And for the love of drywall, never overtighten compression fittings. Snug + 1/4 turn max.
5 Pro Tips Most Handymen Won’t Tell You
- The Toothpaste Trick: Rub non-gel toothpaste on scratched stainless steel sinks—it buffs out micro-scratches via mild abrasives (verified by Consumer Reports).
- Drywall Dust Hack: Vacuum seams before taping. Residual dust = peeling mud. Use a shop vac with a brush attachment.
- Caulk Like a Finn: Wet your finger with denatured alcohol (not water!) for ultra-smooth silicone beads. Water leaves ridges.
- Stud Finder Lie: Cheap stud finders detect density—not studs. Confirm with a finish nail tap test every 6 inches.
- Garbage Disposal Reset: Jammed? Never reach in. Turn off power, insert an Allen wrench into the bottom hole, and rotate back-and-forth until freed.
TERIBLE TIP DISCLAIMER: “Just wrap pipe threads with Teflon tape 10 times!” Nope. Over-taping causes cracks under pressure. Wrap clockwise 3–4 times max—thin layers only.
My Niche Pet Peeve Rant
Why do influencers film DIYs in pristine white kitchens wearing designer athleisure? Real repairs happen in cramped basements, covered in mineral deposits, cursing at frozen bolts. Stop glamorizing the grind. Show the knuckle scrapes, the failed caulk lines, the moment you realize you bought the wrong O-ring size. That’s where learning lives.
Case Study: From Dripping Faucet to Dry Sink in 22 Minutes
Last Tuesday, my neighbor Karen texted: “Kitchen faucet sounds like a dying cricket.” Instead of replacing the whole cartridge ($45), I diagnosed it as a worn ceramic disc—common in Moen models post-2015.
Process:
1. Shut off hot/cold valves under sink.
2. Removed handle with 1/8″ hex key.
3> Popped out cartridge using needle-nose pliers.
4. Swapped in identical replacement ($8 at hardware store).
5. Tested for 5 minutes—zero drip.
Total cost: $8. Time saved vs. plumber: ~$192. Moral? Know your fixture brand. Keep a spare cartridge in your junk drawer. And never assume “it’s just old”—sometimes it’s just tired.
FAQs About Home Repair DIY
What’s the easiest home repair for beginners?
Replacing faucet aerators or installing LED retrofits in recessed lights. Both take <10 minutes, require no wiring/plumbing changes, and yield big efficiency gains (U.S. DOE estimates 10–15% lighting energy savings).
How do I know if a repair is beyond DIY?
Call a pro if: gas lines are involved, structural cracks exceed 1/8″, or your panel lacks GFCI/AFCI protection near water sources. Safety > savings.
Can vinegar really unclog drains?
Only for light organic buildup (soap scum, hair). Mix 1 cup baking soda + 1 cup vinegar, wait 15 mins, flush with hot water. For severe clogs, use a hand-crank auger—chemicals corrode pipes over time (EPA warning, 2022).
Conclusion
A home repair DIY handy helpful tip isn’t just about fixing things—it’s about building confidence, saving cash, and respecting your home as a living system. Start small (that faucet aerator!), document your wins, and never skip diagnosis. Remember: the goal isn’t perfection. It’s progress that sticks.
Now go silence that drip. Your future self—and your wallet—will thank you.
Like a 2000s Tamagotchi, your house needs daily attention. Neglect it, and it dies. Feed it care, and it thrives.
🔧 Home repaired? Share your victory (or hilarious fail) in the comments!