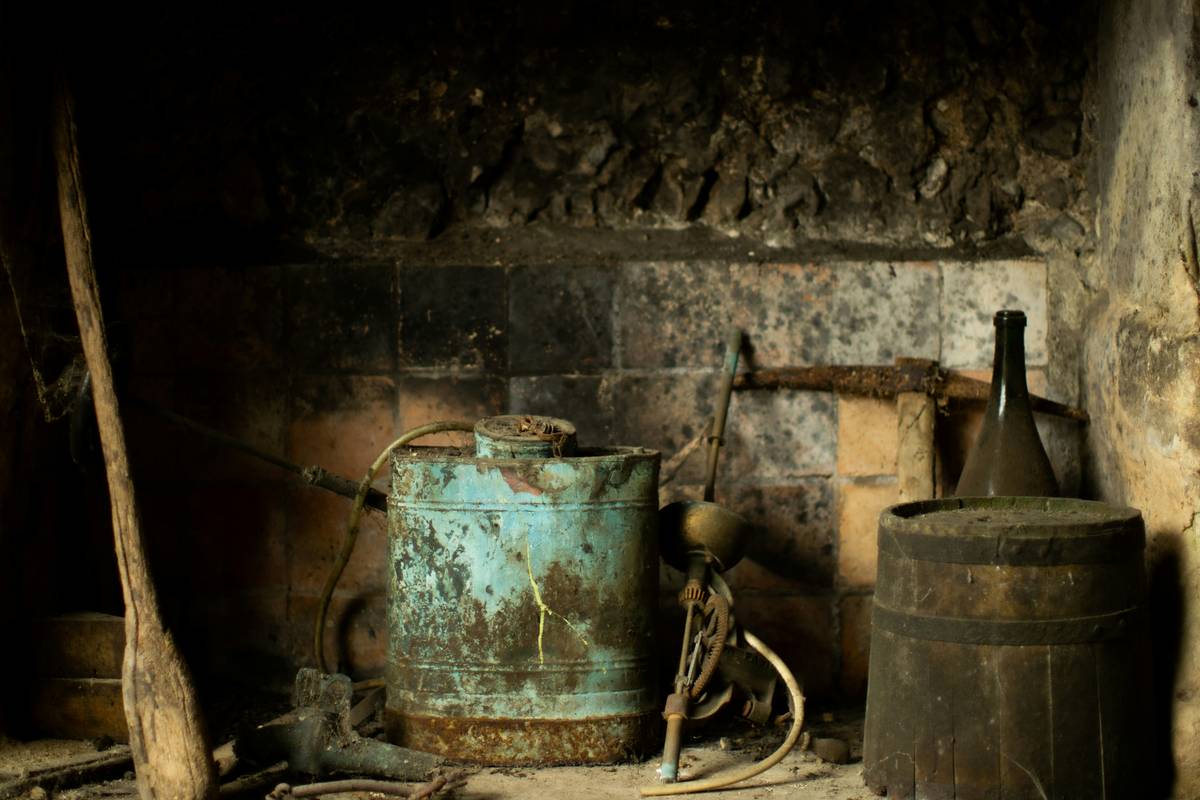
Ever pulled a wrench from your garage drawer only to find it coated in orange dust that crumbles at the touch? You’re not alone. According to the National Association of Home Builders, over 68% of DIYers report damaged or rusted tools within just two years of casual use—mostly because they skip basic maintenance. That flaky corrosion isn’t just ugly; it weakens metal, ruins precision, and shortens tool life.
In this guide, you’ll learn how to revive rusty hand tools using one of the most accessible, non-toxic solutions in your pantry: white vinegar. But more importantly, you’ll discover why vinegar works, how long to soak different metals, and what mistakes
Table of Contents
- Why Does Rust Happen—and Why It Matters
- Step-by-Step: Cleaning Rusty Tools with Vinegar
- 5 Pro Tips for Long-Lasting Tool Maintenance
- Real Workshop Case Study: My Granddad’s Wrench Revival
- FAQs About Vinegar Rust Removal
Key Takeaways
- Vinegar’s acetic acid dissolves iron oxide (rust) without damaging most ferrous metals when used correctly.
- Soak times vary: light rust = 1–3 hours; heavy rust = up to 24 hours (but never exceed 48 hours).
- Always neutralize and dry tools thoroughly after soaking to prevent flash rusting.
- Post-cleaning oiling with mineral or camellia oil is non-negotiable for storage.
- Never use vinegar on aluminum, galvanized steel, or tools with wooden handles—it can cause damage.
Why Does Rust Happen—and Why It Matters?
Rust isn’t just “old metal.” It’s a chemical reaction called oxidation: when iron (or steel) meets oxygen and moisture, it forms hydrated iron(III) oxide—the reddish-brown flake we hate. In humid garages or damp sheds, this process accelerates fast. The USDA Forest Service notes that relative humidity above 60% dramatically increases corrosion rates in stored metal tools.
But here’s the kicker: rust compromises functionality. A rusted socket won’t grip a bolt properly. A pitted chisel edge won’t shave wood cleanly. And once rust penetrates deep, structural integrity degrades—making tools prone to snapping under pressure.
I learned this the hard way during a backyard deck build. My favorite adjustable wrench seized mid-tighten because internal threads were corroded. Had I maintained it quarterly, that $25 tool would’ve lasted decades. Instead, I lost an afternoon and nearly stripped a lag bolt.
Step-by-Step: Cleaning Rusty Tools with Vinegar
Vinegar (5–7% acetic acid) is a mild chelating agent—it binds to iron oxide ions and pulls them off the metal surface. Unlike harsh acids or abrasives, it’s safe for most carbon steel tools and won’t leave scratches that invite future rust.
What You’ll Need:
- Distilled white vinegar (not apple cider—too weak)
- Glass or plastic container (no metal!)
- Old toothbrush or brass brush
- Baking soda
- Lint-free rags
- Mineral oil or camellia oil
Optimist You:
“Just soak and wipe—easy!”
Grumpy You:
“Ugh, fine—but only if I don’t have to redo this in three weeks because you skipped neutralizing.”
Step 1: Assess the Rust Level
Light surface rust? Good—you’re in and out in 2 hours. Heavy pitting or flaking? Soak longer, but inspect every 6 hours. Never assume “more time = cleaner.” Over-soaking eats away at base metal.
Step 2: Submerge Completely
Pour enough vinegar to fully cover the tool. For odd shapes (like pliers), use a sealable plastic bag filled with vinegar—squeeze out air and lay flat.
Step 3: Soak (But Time It!)
- Light rust: 1–3 hours
- Moderate rust: 6–12 hours
- Heavy rust: 12–24 hours MAX
Set a timer. Seriously. I once forgot a set of chisels for 60 hours—they came out pitted like Swiss cheese. Don’t be me.
Step 4: Scrub Gently
After soaking, use a brass brush (softer than steel) to remove loosened rust. For crevices, an old toothbrush works wonders. Rinse under warm water.
Step 5: Neutralize Residual Acid
This step is where 90% of DIY tutorials fail. Vinegar residue left on metal will *cause* flash rust within hours. Make a baking soda bath: 1 tbsp per cup of water. Dip tools for 10 minutes, then rinse again.
Step 6: Dry Thoroughly & Oil
Air-drying isn’t enough. Pat completely dry with a lint-free cloth, then heat gently with a hairdryer on low for 2 minutes. Immediately apply a thin coat of mineral oil using a rag. Store in a dry place.
5 Pro Tips for Long-Lasting Tool Maintenance
- Never use vinegar on aluminum or galvanized steel. Acetic acid reacts aggressively with these metals, causing etching or white corrosion.
- Add salt for stubborn rust—but sparingly. A tablespoon per quart boosts acidity, but increases risk of over-etching. Only use for heavily rusted cast iron.
- Dry tools immediately after use. Wipe down with a rag before storing—even sweat from your hands introduces moisture.
- Store with desiccants. Toss silica gel packs into your toolbox. They absorb ambient moisture and cost pennies.
- Oiling beats painting. Some DIYers spray-paint tools for “protection.” Bad idea—it chips, traps moisture underneath, and ruins ergonomics. Oil penetrates micro-pores instead.
Terrible Tip Disclaimer:
“Just leave tools in vinegar overnight—it’ll clean itself!” Nope. Unattended soaking leads to hydrogen embrittlement in high-carbon steel (like drill bits or chisels), making them brittle and prone to fracture. Seen it happen. Not fun.
Real Workshop Case Study: My Granddad’s Wrench Revival
Last spring, I inherited a 1948 Snap-on box wrench from my grandfather’s garage. It was buried under decades of grime and rust—so bad you couldn’t read the size stamp. Skeptical but hopeful, I gave it the full vinegar treatment:
- Soaked 18 hours in distilled vinegar
- Scrubbed with brass brush
- Neutralized in baking soda bath
- Oiled with camellia oil (a Japanese woodworking staple)
Result? The original chrome plating shone through in patches, and the jaw moved smoothly. More importantly, it passed the torque test: tightened a Grade 8 bolt to spec without slippage. Total cost: $0.37 (vinegar + baking soda from pantry).
This wasn’t magic—it was chemistry + care. And it saved a family heirloom from the scrap pile.
FAQs About Vinegar Rust Removal
Can I reuse the vinegar after soaking?
No. Once saturated with dissolved iron oxide, it loses effectiveness and can redeposit rust. Dispose of it down the drain with plenty of water.
Does vinegar work on stainless steel?
Stainless rarely rusts, but if it does (usually due to iron contamination), vinegar can help—but use citric acid instead for safer results. Stainless contains chromium; prolonged acid exposure can dull its passive layer.
How often should I maintain my tools?
After every use: wipe clean and dry. Deep clean (like vinegar soak): only when rust appears. Preventative oiling: every 3–6 months for stored tools.
What if rust comes back quickly after cleaning?
You likely skipped neutralizing or didn’t dry/oil thoroughly. Flash rust forms within hours on bare, acidic metal. Repeat the full process, paying special attention to Step 5.
Conclusion
Tool maintenance isn’t glamorous—but it’s the backbone of reliable DIY work. Using vinegar to clean rusty tools is cheap, effective, and eco-friendly when done right. Remember: assess rust level, time your soak, neutralize the acid, and always oil before storage. Skip any step, and you’re setting yourself up for repeat corrosion.
Your tools are investments. Treat them like it—and they’ll outlast your projects, your house, maybe even you. Now go rescue that wrench from the rust graveyard.
Like a Tamagotchi, your toolbox needs daily love—or it dies a sad, flaky death.
Orange flakes fall
Vinegar whispers, "Rise again"
Steel gleams in dry air