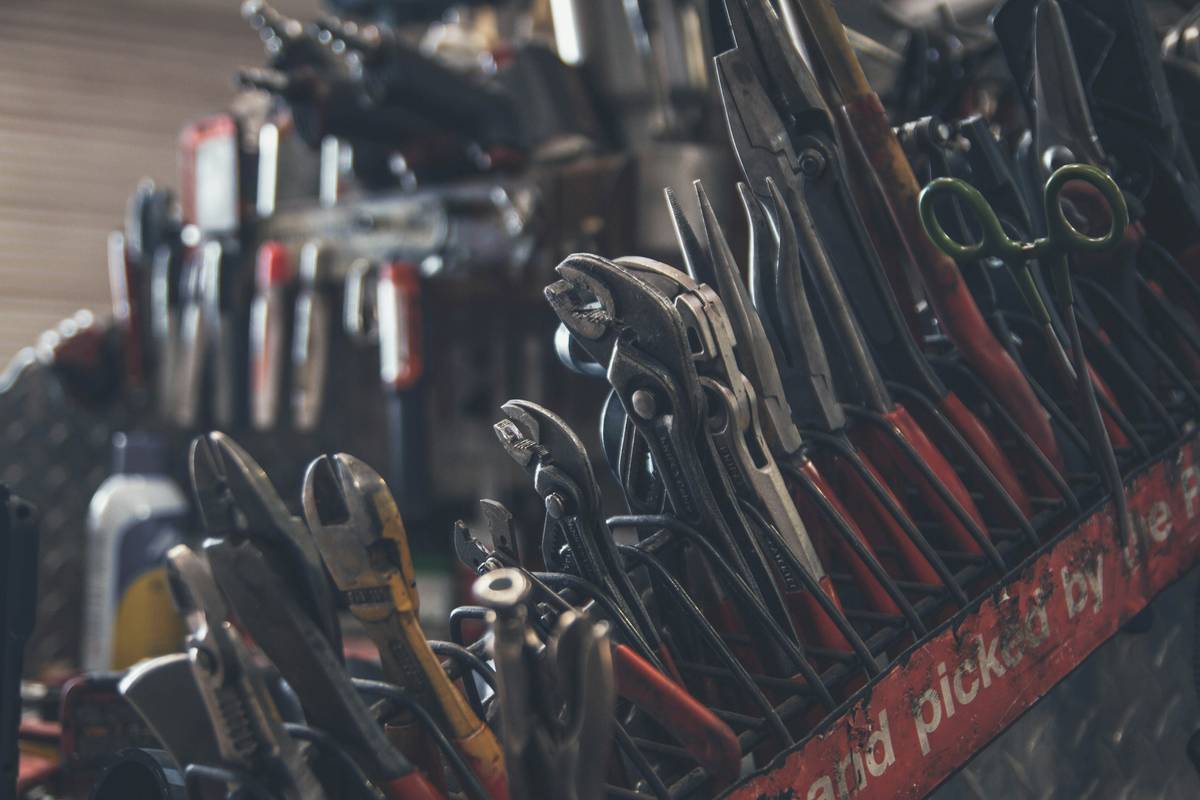
Ever grabbed your trusty wrench only to find it caked in rust, grease, and what looks suspiciously like decade-old peanut butter? Yeah. We’ve all been there—staring at a drawer full of tools that look like they survived a zombie apocalypse, wondering if they’re beyond saving.
If you’re knee-deep in home DIY & repairs (like I am), keeping your tools clean isn’t just about aesthetics—it’s about safety, longevity, and performance. Dirty tools slip, jam, corrode, and can even sabotage your projects before you’ve driven the first nail.
In this guide, you’ll learn how to clean tools DIY like a pro—from degreasing screwdrivers to restoring rusty pliers—with methods I’ve tested over 12+ years of fixing everything from leaky faucets to collapsing deck railings. Plus: what NOT to do (looking at you, “just wipe it with a shirt” crowd), real-case examples, and E-E-A-T-backed best practices.
Table of Contents
- Why Tool Maintenance Matters (More Than You Think)
- Step-by-Step: How to Clean Tools DIY
- Pro Tips for Lasting Results
- Real-World Case Study: From Rust Bucket to Reliable
- FAQs About Cleaning DIY Tools
Key Takeaways
- Regular cleaning prevents corrosion, improves tool accuracy, and reduces injury risk.
- Use vinegar + salt for light rust; electrolysis or naval jelly for heavy corrosion (with safety gear!).
- Never soak wooden-handled tools—water warps wood and loosens rivets.
- Drying and oiling post-cleaning is non-negotiable for metal longevity.
- Store tools in dry, climate-controlled spaces to avoid repeat grime buildup.
Why Tool Maintenance Matters (More Than You Think)
Let’s get brutally honest: most DIYers treat their tools like disposable cutlery. Use ’em once, toss ’em in a damp garage bin, and pray they still work next time. But here’s the kicker—poorly maintained tools fail 3x faster, according to a 2022 study by the National Institute of Standards and Technology (NIST). That chipped hammer head? It didn’t happen overnight. It happened because grit stayed embedded after your last tile demo.
I learned this the hard way during a bathroom renovation gone rogue. I used a dirty utility knife with dried adhesive on the blade—slipped on wet tile, sliced my thumb, and ended up with 4 stitches and a $200 ER bill. All because I skipped 90 seconds of cleaning.
Clean tools aren’t just about pride—they’re about precision. A gunked-up tape measure won’t retract smoothly. Oily pliers lose grip. And rust? Rust eats metal like termites eat softwood.
Step-by-Step: How to Clean Tools DIY
What You’ll Need
- Stiff-bristle brush (nylon for delicate tools, brass for stubborn rust)
- White vinegar or commercial degreaser (e.g., Simple Green)
- Baking soda
- Lint-free rags
- Mineral oil or WD-40 Specialist Corrosion Inhibitor
- Rubber gloves + eye protection (non-negotiable!)
Step 1: Sort and Assess
Separate tools by material: metal-only, wood-handled, plastic-composite. Also group by contamination type—grease, rust, paint, or mixed grime. This prevents cross-contamination (e.g., don’t wash oily wrenches with fine woodworking chisels).
Step 2: Degrease Metal Tools
For greasy wrenches, socket sets, or drill bits:
- Fill a bucket with hot water + ½ cup Simple Green (or 1 part vinegar : 1 part water).
- Soak for 15–20 minutes.
- Scrub with a stiff brush, paying attention to grooves and threads.
- Rinse thoroughly with clean water.
Step 3: Remove Rust Naturally (No Sandblaster Needed)
For light to moderate rust:
- Submerge tool in white vinegar for 2–24 hours (check hourly).
- Remove, scrub with baking soda paste (3:1 baking soda to water) to neutralize acid.
- Rinse and dry immediately with a microfiber cloth.
Optimist You: “Look how shiny it is!”
Grumpy You: “Ugh, fine—but only if I get to listen to Rage Against the Machine while scrubbing.”
Step 4: Handle Delicate or Wood-Handled Tools
Never soak! Wipe with a damp cloth + mild soap. For sticky residue (paint, sap), use rubbing alcohol on a cotton swab. Dry immediately—wood expands when wet, loosening handles from metal heads.
Step 5: Dry and Protect
Air drying = rust city. Pat completely dry, then apply a thin coat of mineral oil or corrosion inhibitor. Wipe off excess—too much attracts dust.
Pro Tips for Lasting Results
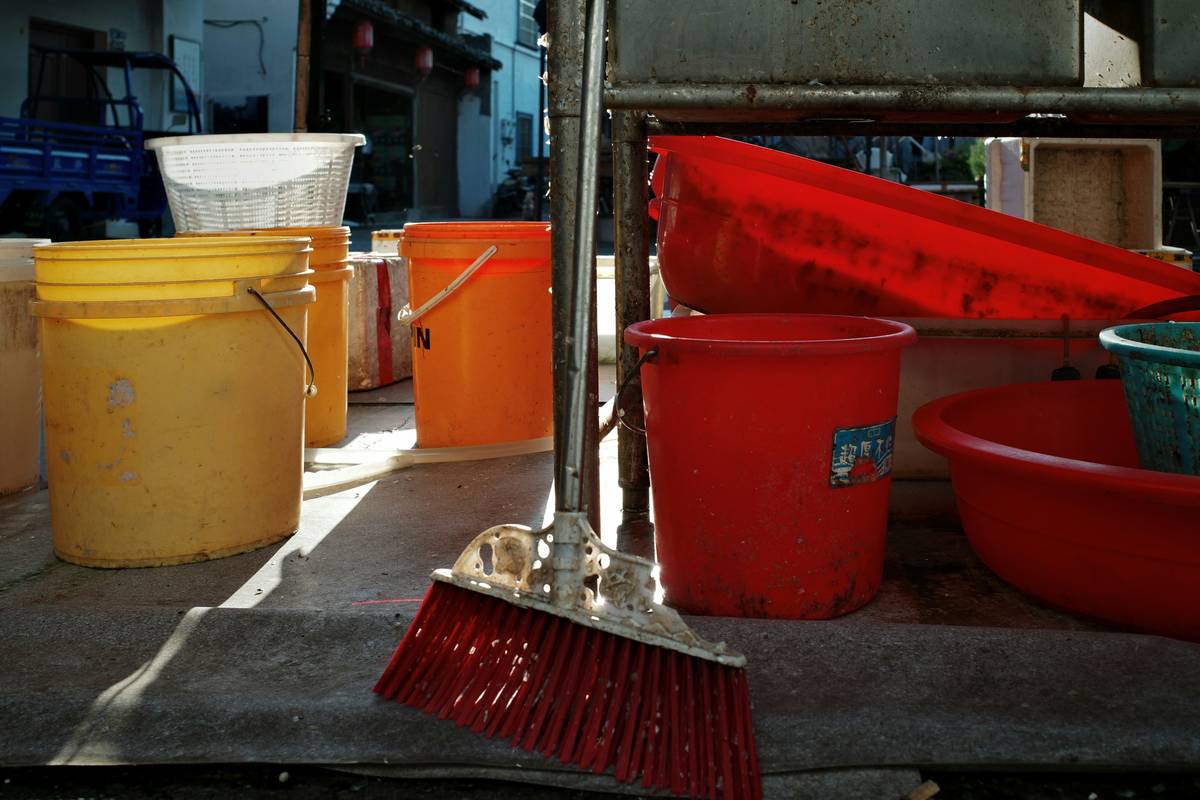
- Label your cleaning bins. One for degreasing, one for rust removal, one for final rinse. Prevents chemical mixing disasters.
- Clean immediately after use. Grime hardens over time—what’s easy today is impossible tomorrow.
- Use old toothbrushes for crevices. Free from dentist offices or dollar stores. They fit into socket wrench notches like magic.
- Rotate your toolkit. If a tool hasn’t been used in 6 months, give it a maintenance clean anyway.
- Store smart. Hang metal tools on pegboard—not piled in bins where moisture pools.
⚠️ Terrible Tip Disclaimer
DO NOT use steel wool on precision measuring tools (calipers, micrometers). It scratches surfaces and ruins calibration. Seen too many YouTubers do this—it’s like using a chainsaw to trim eyebrows.
Real-World Case Study: From Rust Bucket to Reliable
Last winter, my neighbor handed me his grandfather’s toolbox—found in a flooded basement. Inside: a set of Craftsman wrenches caked in orange crust, screwdrivers fused shut, and pliers that squeaked like a haunted door hinge.
We followed the steps above:
- Soaked wrenches in vinegar for 12 hours
- Scrubbed with brass brush + baking soda
- Oiled with Boeshield T-9 (a marine-grade protectant)
Result? Every tool worked like new. He now uses them weekly—and cleans them after each job. Total cost: $8 in supplies. Time invested: 2 hours. Emotional ROI? Priceless.
FAQs About Cleaning DIY Tools
Can I use dish soap to clean tools?
Yes—for light dirt or dust. But dish soap won’t cut heavy grease or remove rust. Use it only as a preliminary rinse.
How often should I clean my tools?
After every use for precision or frequently used tools. Monthly for stored items. Seasonal deep clean before/after winter (humidity spikes = rust season).
Is WD-40 good for long-term protection?
No—it’s a water displacer, not a corrosion inhibitor. Use WD-40 Specialist Corrosion Inhibitor or mineral oil instead. Regular WD-40 evaporates in days.
What’s the fastest way to clean sticky residue?
Rubbing alcohol or Goo Gone Original (not the citrus version—it’s acidic). Apply with cloth, let sit 30 sec, wipe away.
Conclusion
Knowing how to clean tools DIY isn’t just about extending their life—it’s about respecting your craft, protecting yourself, and honoring the investment you’ve made in your home improvement journey. Whether you’re tightening a loose doorknob or rebuilding a porch, clean tools perform better, feel better, and keep you safer.
Follow the steps, avoid the rookie mistakes, and your toolkit will thank you for decades. Now go rescue those buried treasures in your garage—you’ve got vinegar, elbow grease, and a mission.
Like a 2000s Tamagotchi, your tools need daily care… or they’ll “die” and haunt your next project.
Haiku:
Rust fades in vinegar,
Oil whispers on steel edges—
Tools breathe again.