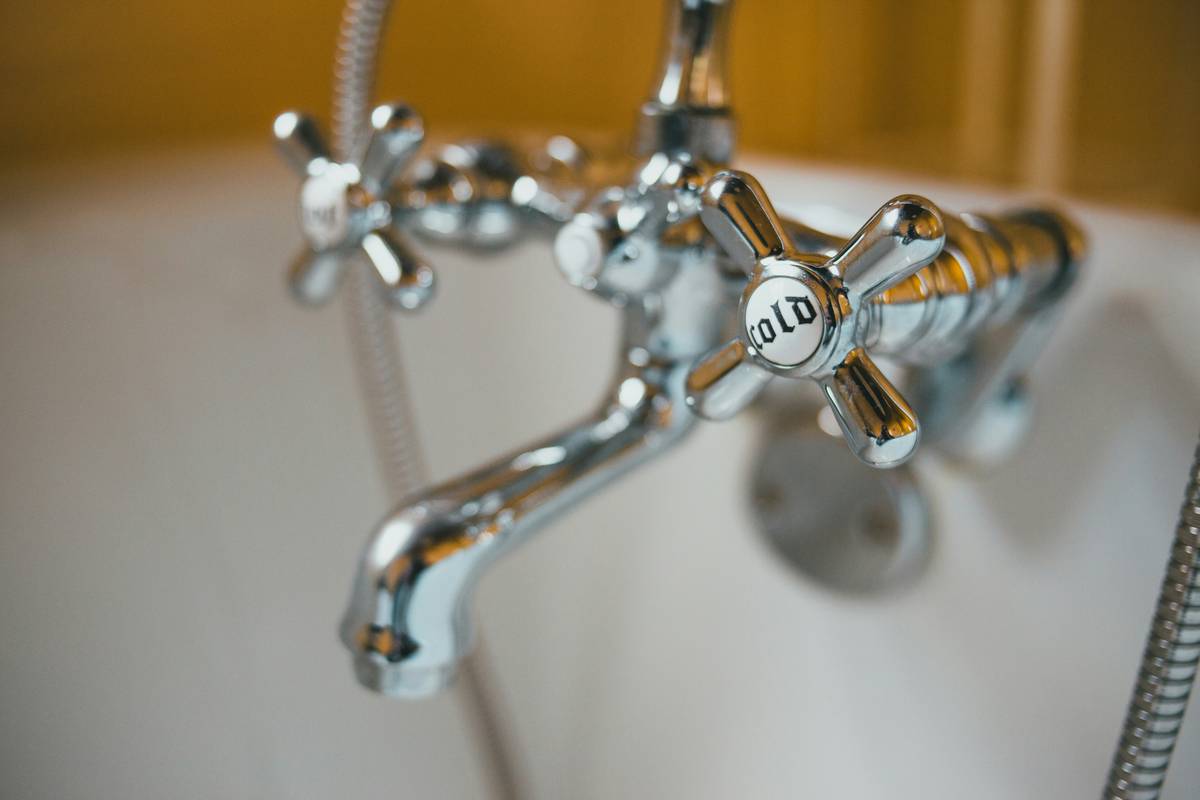
Ever stood in your kitchen at 2 a.m., glaring at that drip… drip… drip like it’s personally mocking your sleep? You’re not alone. The U.S. Environmental Protection Agency estimates that a single leaky faucet dripping once per second wastes over 3,000 gallons of water per year—enough to fill a kiddie pool. And guess what? That’s hitting your wallet and the planet.
If you’ve been Googling “diy fix leaky faucet” while holding a wrench in one hand and your sanity in the other, you’ve landed in the right spot. I’ve been fixing faucets since my first apartment days—when I proudly (and mistakenly) swapped O-rings with rubber bands because “they stretch, right?” Spoiler: they don’t. Ever.
In this guide, you’ll learn:
- Why your faucet is leaking (it’s usually not the whole fixture)
- Exactly which tools and parts you need—no plumbing degree required
- A step-by-step walkthrough for the 4 most common faucet types
- Pro tips to avoid rookie mistakes (like stripping screws or flooding your cabinet)
Table of Contents
- Why Bother Fixing a Leaky Faucet?
- Step-by-Step Guide to DIY Fix Leaky Faucet
- 5 Pro Tips That Save Time (and Your Sanity)
- Real-Life Example: How I Fixed My Mom’s Dripping Delta in 22 Minutes
- FAQs: Your Burning Questions, Answered
Key Takeaways
- Over 90% of leaky faucets are caused by worn washers, O-rings, or cartridges—not faulty pipes.
- You can fix most leaks with under $10 in parts and basic tools (adjustable wrench, screwdriver).
- Always shut off the water supply valves before starting—this avoids indoor “water features.”
- Faucet types matter: compression, ball, cartridge, and ceramic disc each need different fixes.
Why Bother Fixing a Leaky Faucet?
Beyond the maddening sound—and the eco-guilt—ignoring a leak has real consequences. According to the EPA’s WaterSense program, household leaks account for nearly 1 trillion gallons of wasted water annually nationwide. That’s not just bad for the environment; it’s costly. A slow drip can add $20–$100+ to your annual water bill.
But here’s the kicker: most leaks are dead simple to fix yourself. Plumbers charge $150–$350/hour for what often takes them 15 minutes. Meanwhile, you’ve got YouTube tutorials, spare O-rings from Home Depot, and the grit of someone who’s survived assembling IKEA furniture. You got this.
Step-by-Step Guide to DIY Fix Leaky Faucet
Step 1: Identify Your Faucet Type
Before buying parts, know your enemy. Stand under that drip and inspect:
- Compression faucets: Two handles (hot/cold), often in older homes. Leak = worn rubber washer.
- Ball faucets: Single handle that moves over a rounded cap. Leak = worn springs or seals.
- Cartridge faucets: One or two handles with no visible ball. Leak = damaged cartridge.
- Ceramic disc: Single wide handle. Leak = cracked ceramic discs (rare—but pricey if ignored).
Step 2: Shut Off the Water & Prep the Area
Locate the shutoff valves under the sink. Turn them clockwise until tight. Test by turning on the faucet—if water still flows, you’ve got main-line issues (call a pro). Lay towels in the cabinet to catch drips. Pro move: plug the drain so screws don’t vanish into plumbing purgatory.
Step 3: Disassemble the Faucet
Remove the handle (often hidden under a decorative cap—pry it off gently with a flathead). Unscrew the retaining nut with an adjustable wrench. Pull out the stem/cartridge. Take pictures at every step. Seriously—your future self will thank you when reassembly feels like 3D Tetris.
Step 4: Replace the Faulty Part
Match old parts to new at the hardware store (bring them!). For compression faucets, swap the washer and O-ring. For cartridges, buy an exact OEM replacement—generic ones often fail fast. Apply plumber’s grease to new O-rings for smoother operation and longer life.
Step 5: Reassemble & Test
Reverse the disassembly steps. Don’t overtighten—brass and chrome strip easily. Turn water back on slowly, then run both hot and cold. Check for leaks at the base and spout. If it still drips? You likely missed a secondary seal or used the wrong washer size. Breathe. Try again.
5 Pro Tips That Save Time (and Your Sanity)
- Use a faucet repair kit: Brands like Danco sell type-specific kits for $8–$15. Cheaper than guessing.
- Vinegar soak for mineral buildup: Soak aerators or cartridges in white vinegar for 30 mins to dissolve hard water deposits.
- Label water lines: Use masking tape to mark hot/cold supply lines before disconnecting—saves confusion later.
- Never use Teflon tape on compression fittings: It causes leaks. Only use it on threaded pipe joints.
- Check for cross-threading: Start nuts by hand to avoid stripping threads—a silent faucet killer.
Grumpy Optimist Dialogue:
Optimist You: “Following these steps saves money and builds confidence!”
Grumpy You: “Ugh, fine—but only if I get to drink coffee while tightening that stupid retaining nut.”
Real-Life Example: How I Fixed My Mom’s Dripping Delta in 22 Minutes
Last winter, my mom called panicked: her kitchen faucet had evolved from a drip to a steady stream. She was using a pot to catch water overnight—”like camping indoors,” she groaned.
I grabbed my toolkit, drove over, and diagnosed it as a cartridge-type Delta. Using a Danco rebuild kit (#88907, $12), I replaced the ceramic cartridge and inlet seals. Total time: 22 minutes. Cost: $0 (I had the kit). Her reaction? “You’re magic.” Truth is, I just knew where to look—and didn’t panic when the set screw was corroded (penetrating oil + patience saved the day).
The lesson? Most leaks aren’t emergencies—they’re just neglected wear-and-tear. Address them early, and you’ll never need a midnight plumber call.
FAQs: Your Burning Questions, Answered
Can I fix a leaky faucet without turning off the water?
No—unless you enjoy indoor fountains. Always shut off the supply valves. If they’re stuck or missing, turn off the main water line.
How do I know if I need a new faucet vs. just a repair?
If the faucet body is cracked, corroded, or you’ve replaced parts twice in a year, upgrade. But 90% of the time, a $10 part does the trick (EPA, 2023).
Why does my faucet leak only when turned off?
Classic sign of a worn washer (compression) or cartridge seal. Water pressure forces past the compromised seal when the valve isn’t fully seated.
What’s the worst DIY faucet mistake?
Overtightening. It cracks valve seats, strips threads, and guarantees you’ll call a plumber anyway. Hand-tight plus a quarter-turn is plenty.
⚠️ Terrible Tip Disclaimer:
“Just wrap the leak with electrical tape.” Nope. Tape doesn’t stop water under pressure—it just delays disaster. Avoid “life hacks” that ignore physics.
Rant Corner:
Why do hardware stores hide faucet repair kits behind three aisles of garden gnomes? And why do some cartridges cost more than the faucet itself? Delta, Moen—we see you. Stop making proprietary parts that trap homeowners. Standardization isn’t sexy, but it’s sustainable.
Conclusion
A “diy fix leaky faucet” mission isn’t just about silence—it’s about control, savings, and stewardship. With the right knowledge (and maybe a little vinegar), you can conquer that drip in under half an hour. Remember: identify your faucet type, shut off water, replace worn seals, and resist the urge to Hulk-smash that retaining nut.
Your future self—the one sleeping soundly without a drip soundtrack—will thank you. And hey, if you nail it on the first try? Treat yourself to fancy coffee. You’ve earned it.
Like a Tamagotchi, your home needs daily care—except instead of beeping, it drips.
Wrench in hand,
Silence returns at last—
Leak defeated.